My Journal Page Spread for the Draw Yourself Back to Nature E-Course
Empowering, Out-of-the-Ordinary Collage Jewelry, Altered Artworks,
and other Magical Stuff.


You must have seen my blog post and want to know how I created my journal page spread using the prompt "Nature's Whispers" from Kelly Johnson's Draw Yourself Back to Nature E-Course! I really made an effort to chronicle the steps but if you have any questions, please feel free to contact me.
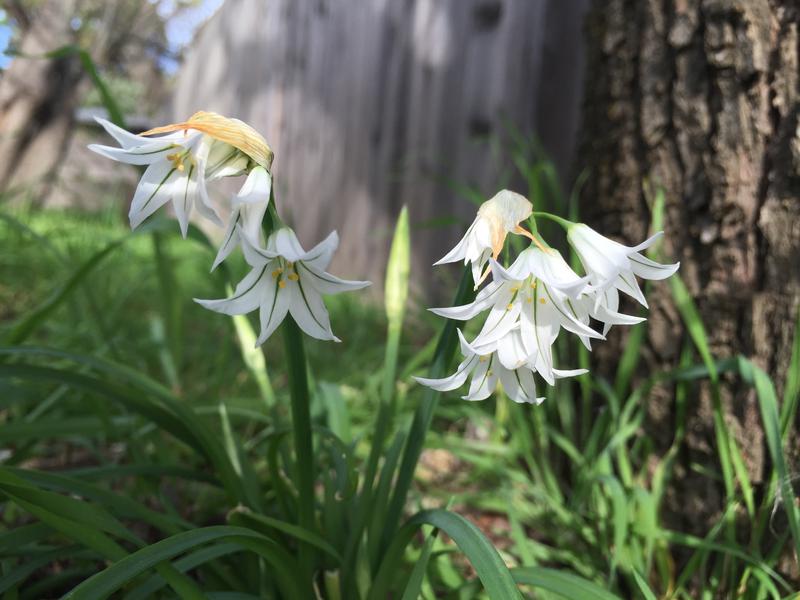
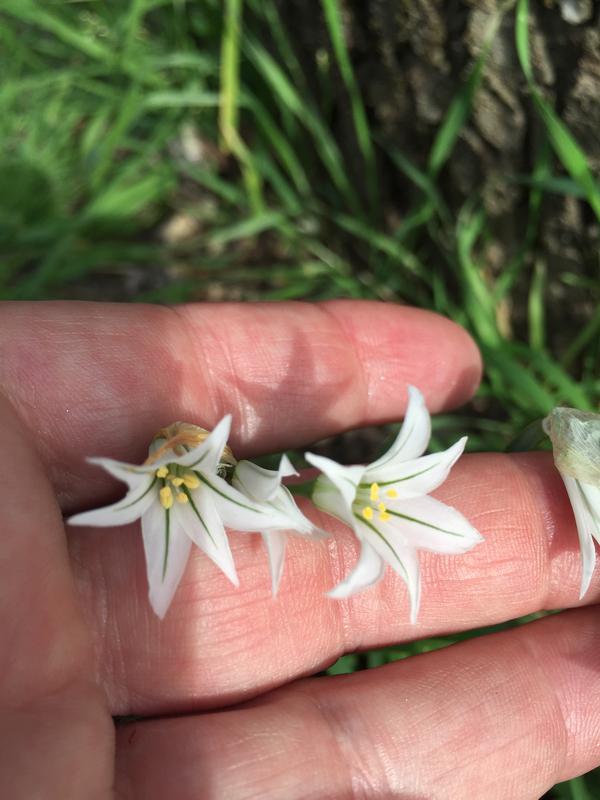
If you remember from my blog post my kitty Angelina took me to the corner of the yard and showed me the wild onion plants. I was "called" to examine these beautiful little blooms so that is where I started.
Virginia Simpson-Magruder, owner of Kentucky Girl Designs
Come Follow Me:
Any Questions?
Just Click on the Book
to Contact Me!
Visit my website by clicking above!
First of all, you need to know that even though I'm attracted to the idea of drawing -- drawing doesn't come easy for me. I'd rather collage or use photos to tell a story. I am attracted to exploring nature -- which I'm passionate about -- on a more intimate level.
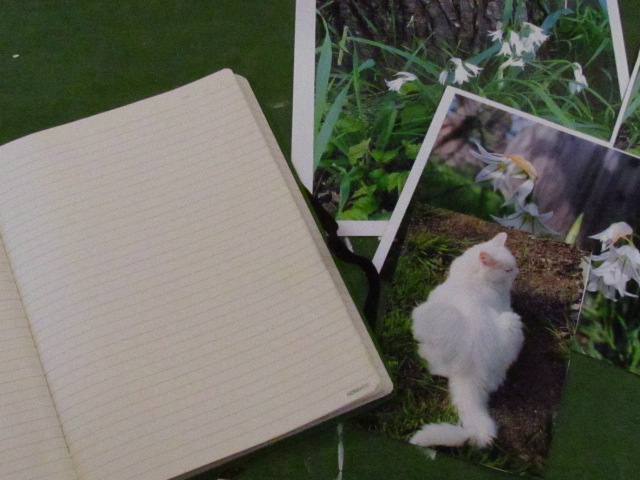
I chose my journal and selected the photo copies I wanted to use. To make my journal pages sturdier I used a UHU glue stick to glue together two sets of three pages each. That becomes my journal "spread" or canvas that can bear the weight of a lot of art media.
Kelly asked me to take an activity from the course and create a journal page around it. I chose "Nature's Whispers" because I am always feeling Nature is speaking to me -- sometimes loudly calling, sometimes softly in whispers. I also liked and chose Kelly's technique of taking a photo and tracing the image onto your journal page. I felt this might help me ease into the drawing of things.
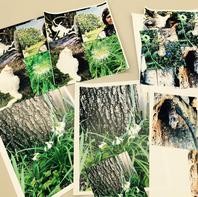
I printed out my photos and then took them to Kinko's to copy and enlarge. I did this because I have an ink jet printer and if I put any art media on the photos the ink would run. If you have a laser printer you can skip this step. I enlarged some of the photos i liked as well.
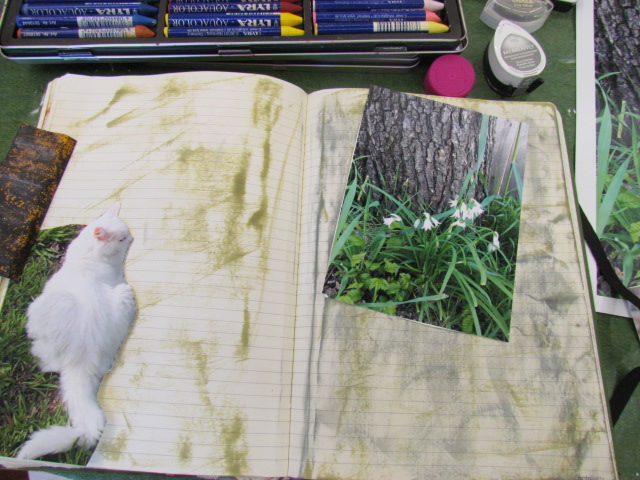
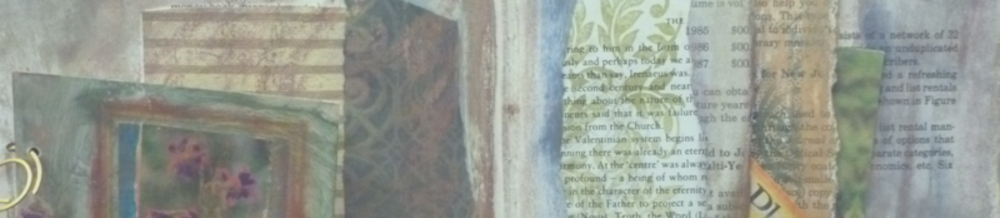
After gluing my journal pages I laid down some color by lightly swiping some ink pads across the pages (a blue/gray London Fog in the upper area and a soft green Bamboo in the lower half). I just wanted a bit of color on the page to get my groove flowing.
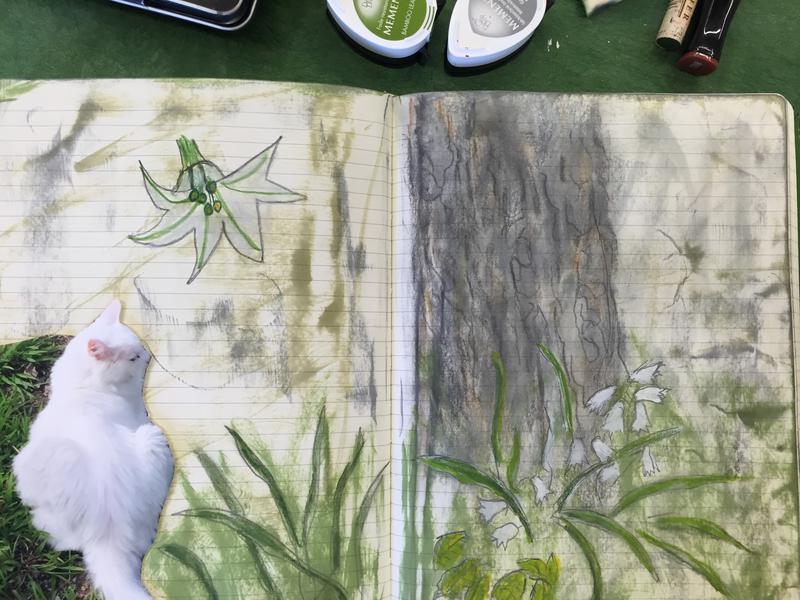
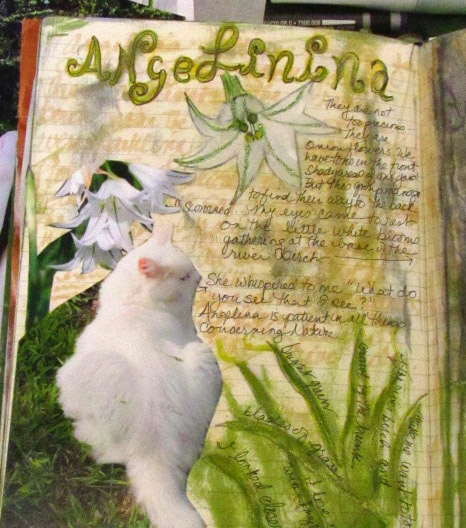
I took Angie's photo and cut out her image and laid it on the page. I positioned the photo of the tree trunk and the onion plants and positioned it where I thought I might like the image to sit.
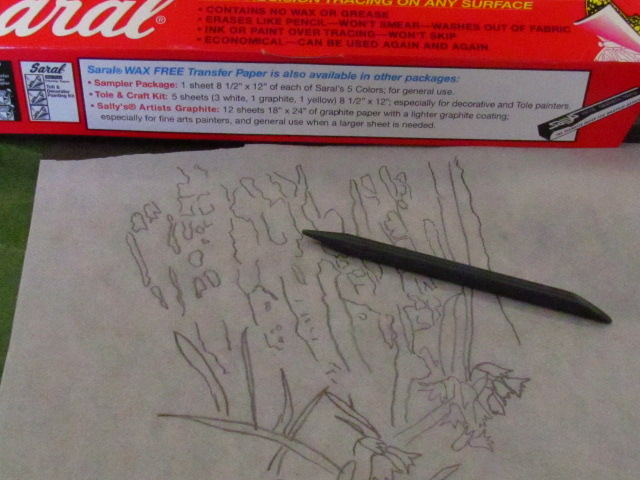
Tracing paper lying on top of photo.
Applied ink pads lightly over journal pages.
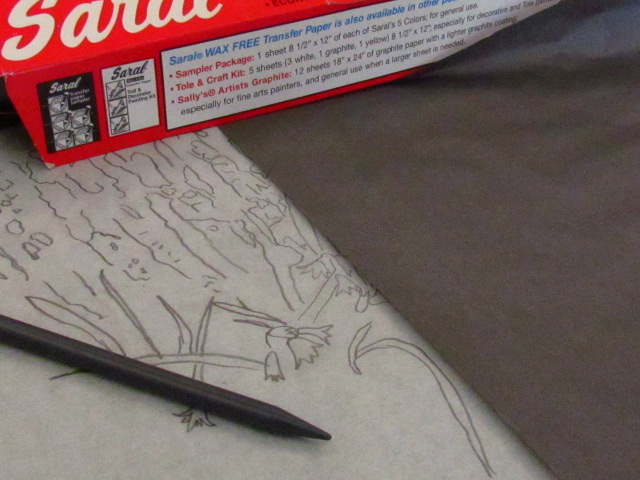
Tracing paper is on left. Dark gray graphite paper is on right.
Graphite paper is now underneath the tracing paper and lying face down on the journal page, tracing paper on top.
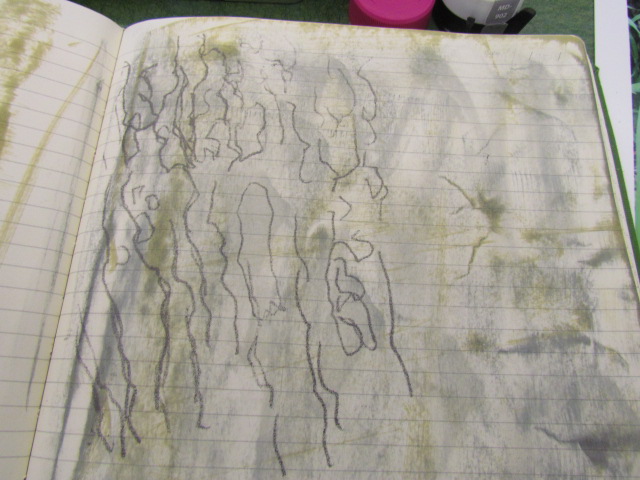
Looks pretty "sketchy" here!
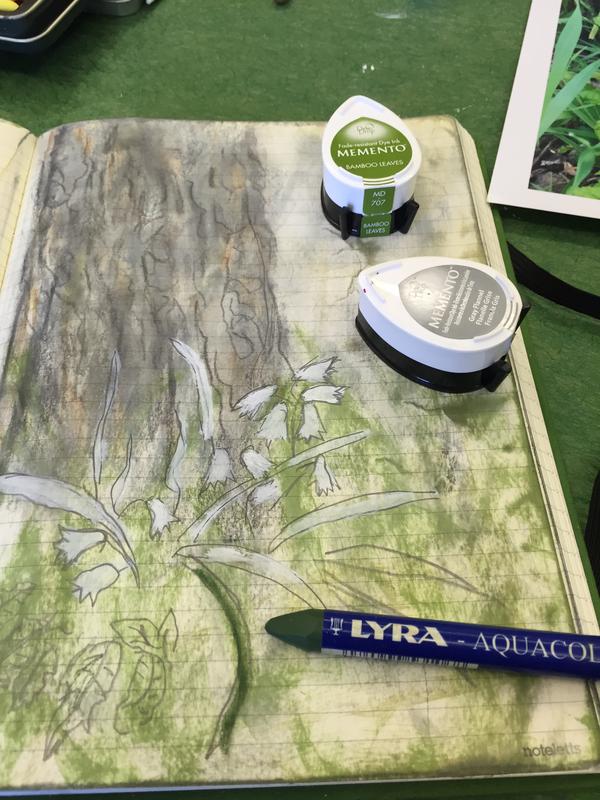
In the picture to the left -- you can see the graphite marks that were transferred. Sketchy at best but gives the general shape and vague details.
I've been adding different color watercolor pencils, Lyra Aquacolor crayons and hard pencil lines to color and refine the drawing. Now it's looking more like a tree trunk!

In the picture to the right I started adding different colors of watercolor pencils watercolor pencils and Lyra Aquacolors crayons to color and smudge the tree trunk. I used more pencils to darken the lines in the tree trunk and to create more contrast. I liked how I felt more free to play with colors and shading because I wasn't worrying about having to draw "accurately" and I got more into the feeling of the piece.
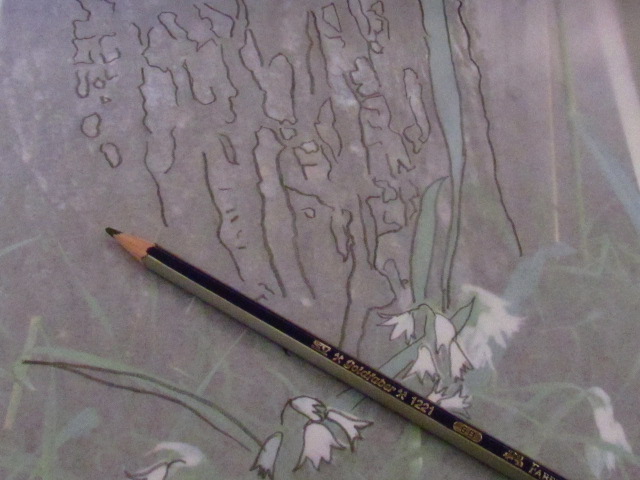
I decided to trace a enlarged version of my original photo. I placed a piece of tracing paper over the photo of the trunk and onion plants. I used a soft pencil but you could use a Sharpie if you wanted. You can see through the tracing paper the basic shape of the photo image and some of the details of the tree, blooms and grasses.
I next took a piece of graphite paper (Saral is one brand and it's the dark gray paper to the left of the tracing in the photo on the left.) and laid it down on the journal page in the position where I wanted to transfer the photo. I lay the tracing of the tree on top of the graphite paper and using a stylus retraced my marks. The stylus transfers the graphite onto the journal page and I now had an approximate rendering of the tree, blooms, and grass...
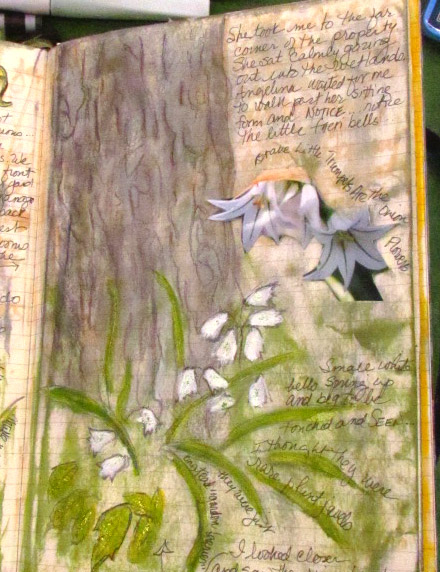
I took a light-colored Copic pen and journaled across the page about my experience with Angie and discovering the beautiful little onion plants. Because it is a light pen you can't read the words, but it creates a background effect.
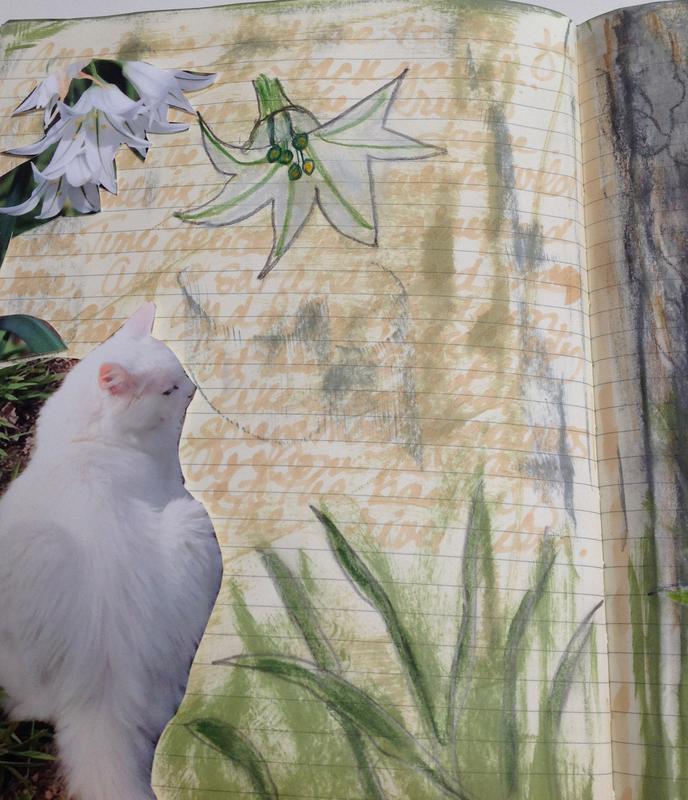
You can see how the pale Copic marker journaling adds a background layer.
Next I cut out some of the enlarged onion blooms from the photo copies and added them to the page on both sides (photo on right).
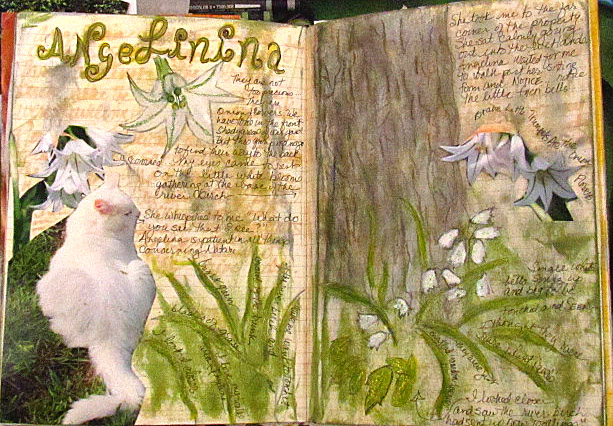
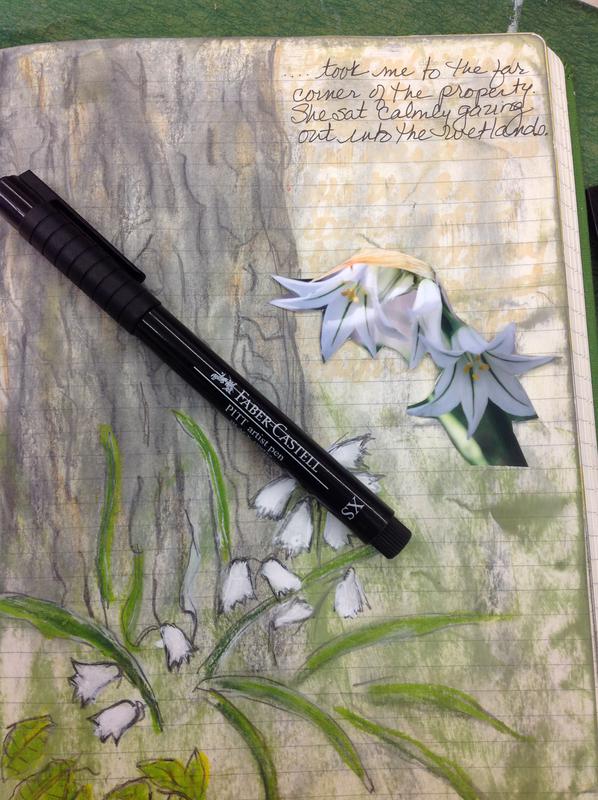
I continued on with coloring the grasses and blooms and even drew a large single bloom to get my feet wet with drawing! The onion plants have lovely green radial lines inside of them and I wanted to show that feature.
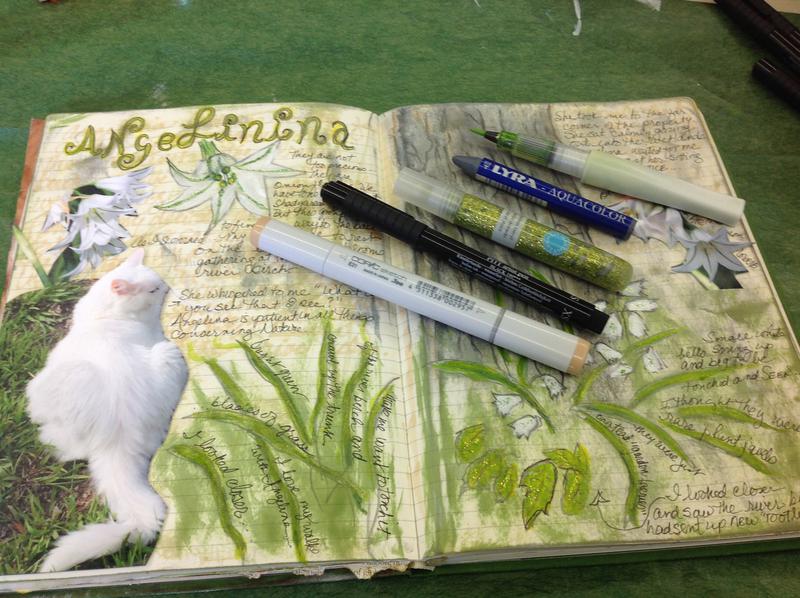
As my journal spread evolved -- I used a black Faber-Castell Pitt pens (permanent ink) in fine point to add more text and call out some details in different parts of the spread.
In my final go round I added glitter with Blink of Stella glitter brush pens here an there around the page and to the blooms and grass strands. Magic!!!
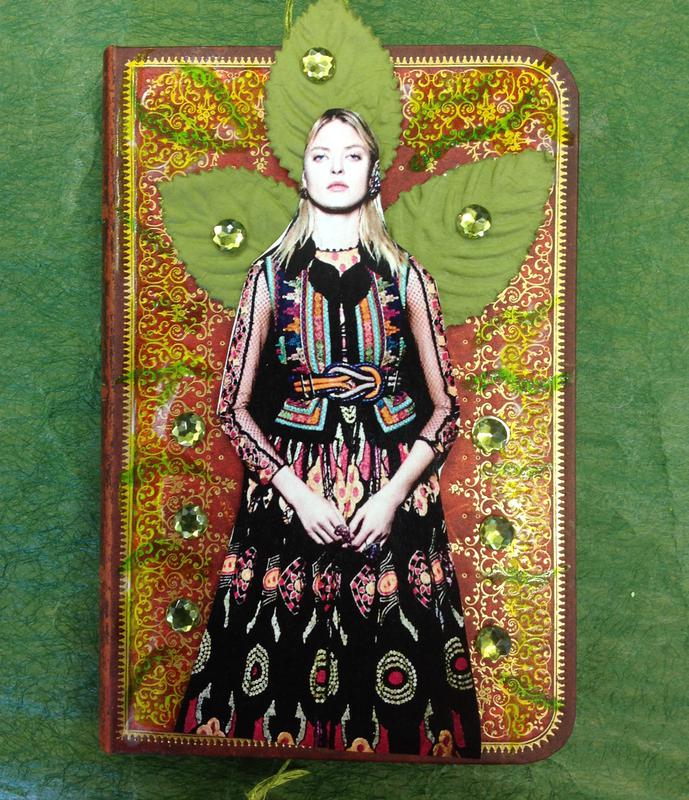
If you want to have a chance to win this hand-decorated journal please add yourself to my e-list here, and return to my blog post and leave a comment!
Be Sure to Visit All of the Blogs in the Draw Yourself Back to Nature E-Course Blog Hop!
If you missed Day 1: Go here to the Wings, Worms, and Wonder blog!